How to realize architectural projects through digital 3D rendering from an alternative viewpoint
Digital rendering in architectural projects refers to the technique of producing realistic 2D or 3D representations of a building or space prior to its construction. This method serves as an essential resource for architects, designers, and clients to visualize concepts, convey ideas, and make well-informed choices. The process entails the use of specialized software to convert 2D plans into interactive visualizations, facilitating a comprehensive understanding of the project’s aesthetics and functionality.
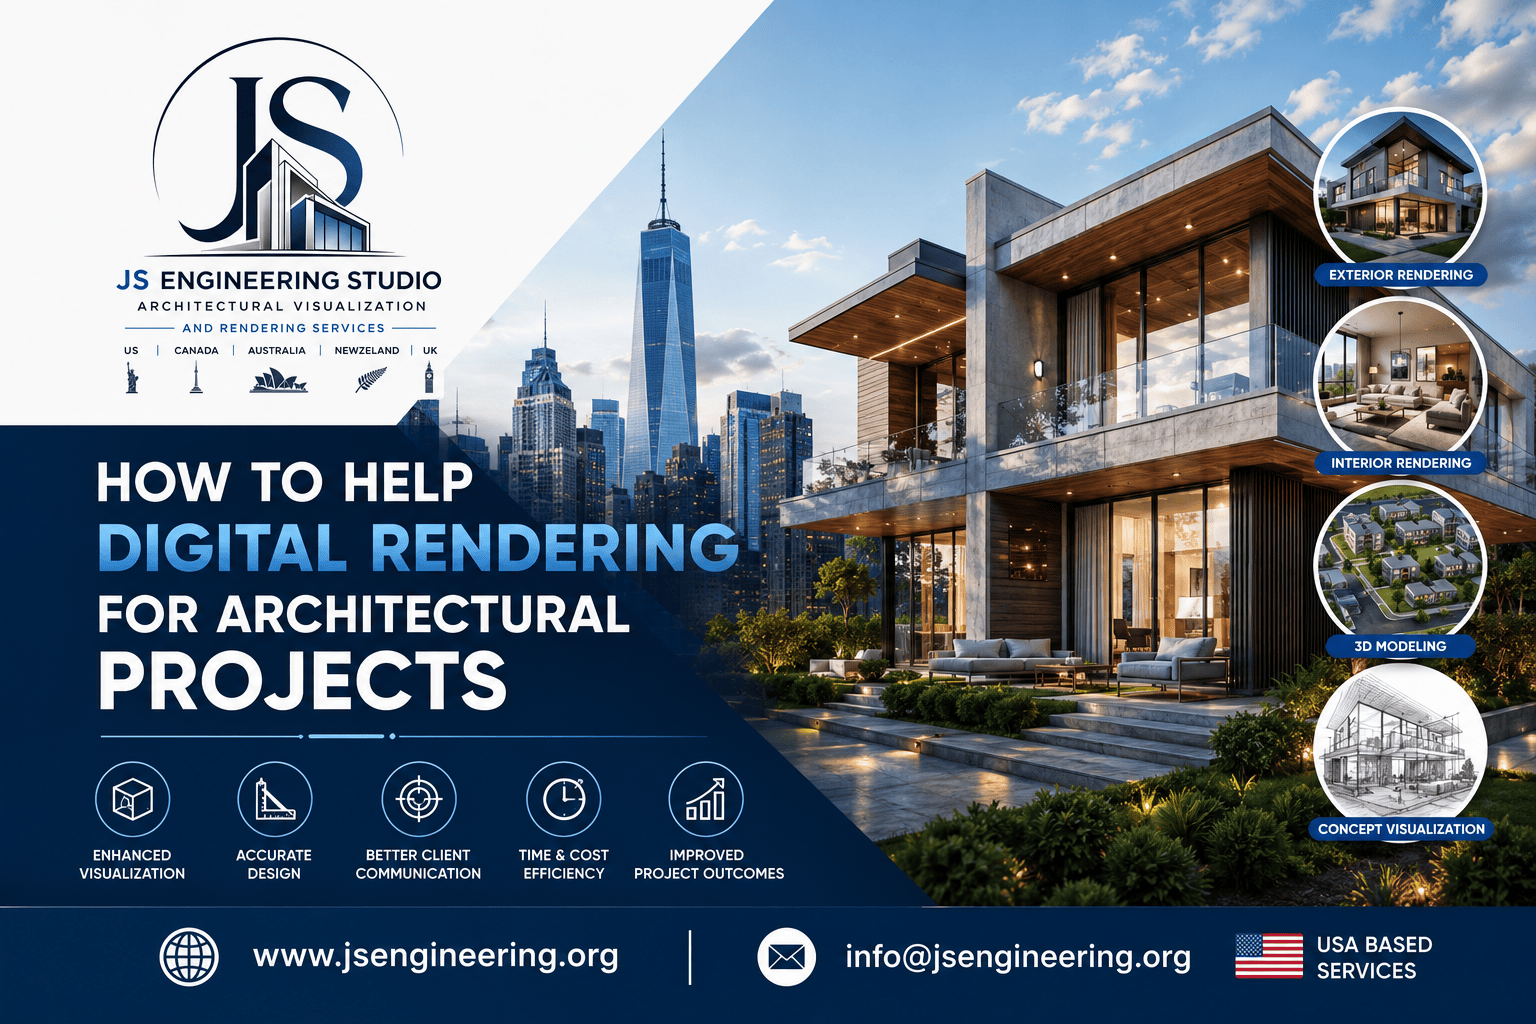
Adding perspective to architectural projects through digital 3D rendering can greatly enhance the visualization and presentation of your designs. we will discuss today step by step guide about Digital Rendering Help For Architectural projects.
Digital rendering in architecture entails the utilization of software to produce realistic 2D and 3D visual representations of building designs. It serves as a potent instrument for architects to convey their vision, investigate design alternatives, and enhance their projects prior to construction.
Create or Import 3D Model:
1. Start by creating a 3D model of your architectural design using modeling software like SketchUp, Rhino, AutoCAD, or any other 3D modeling tool.
2. If you already have a 3D model, ensure it is in a format compatible with your chosen rendering software.
Choose Rendering Software:
1. Select a rendering software that suits your needs. Popular choices include V-Ray, Corona, 3DS max, Lumion, Enscape, Blender, and Unreal Engine.
2. Each software has its own set of features and learning curve, so choose one that aligns with your proficiency and project requirements.
Set Up Lighting:
1. Proper lighting is crucial for creating realistic and visually appealing renderings. Consider the time of day, sun position, and artificial lighting within your design.
2. Adjust the intensity, color, and direction of light sources to create the desired atmosphere.
Apply Materials and Textures:
1. Assign realistic materials and textures to surfaces within your 3D model. This includes materials for walls, floors, ceilings, furniture, and other elements.
2. Pay attention to details such as reflections, transparency, and bump maps to enhance the realism of the materials.
Camera Placement:
1. Set up the camera within your 3D environment to define the viewpoint for your rendering.
2. Experiment with different camera angles and heights to find the most compelling perspective that showcases the key features of your design.
Fine-Tune Composition:
1. Adjust the framing, focal length, and depth of field to create a visually pleasing composition.
2. Consider the rule of thirds and other principles of composition to guide the viewer’s eye through the image.
Render Settings (DIGITAL RENDERING HELP FOR ARCHITECTURAL PROJECTS):
1. Configure the rendering settings based on your project requirements. This includes resolution, quality, and output format.
2. Higher-quality settings may take longer to render, so find a balance that meets your needs.
Post-Processing:
1. After rendering, use post-processing tools in your rendering software or external image editing software (like Adobe Photoshop) to enhance the final image.
2. Adjust color balance, contrast, saturation, and add additional effects if necessary.
Add Context and Surroundings:
1. Consider incorporating the surrounding context to provide a sense of place. This can include neighboring buildings, landscapes, or contextual elements.
2. This step helps to place your architectural project in a real-world context.
Presentation:
1. Finally, organize your renderings into a presentation. You can create a series of images or a walkthrough animation to effectively communicate your design to clients, stakeholders, or the public.
Look for a team that understands your vision and has a Strong 3D Architectural Visualization portfolio.
Conclusion
Remember to continuously experiment and iterate to achieve the desired visual impact. Additionally, staying updated with the latest features and techniques in rendering software can help you continually improve your skills.
We hope now, you get a idea how DIGITAL RENDERING HELP FOR ARCHITECTURAL PROJECTS. click here to explore more articles.
Contact JMSD Consultant Rendering Studio For Commercial and Residential Architectural Rendering and Animation Services Today.!!!
In many cases, a combination of both 3D renders and animation might be ideal. You can start with impactful animations to provide an overview and then use still renders to delve into specific details during the presentation. Lead USA 3D rendering and visualization studio cater to a diverse clientele Affordable high-resolution interior and exterior visualization. Architectural animation for Real Estate and Architects! Ultimately, the choice should align with the unique requirements of your architectural project and the expectations of your audience.
Contact us here for 3D Rendering and Animation Services now!? Reach us out with DM here on: | Get in touch email us at info@jsengineering.org