
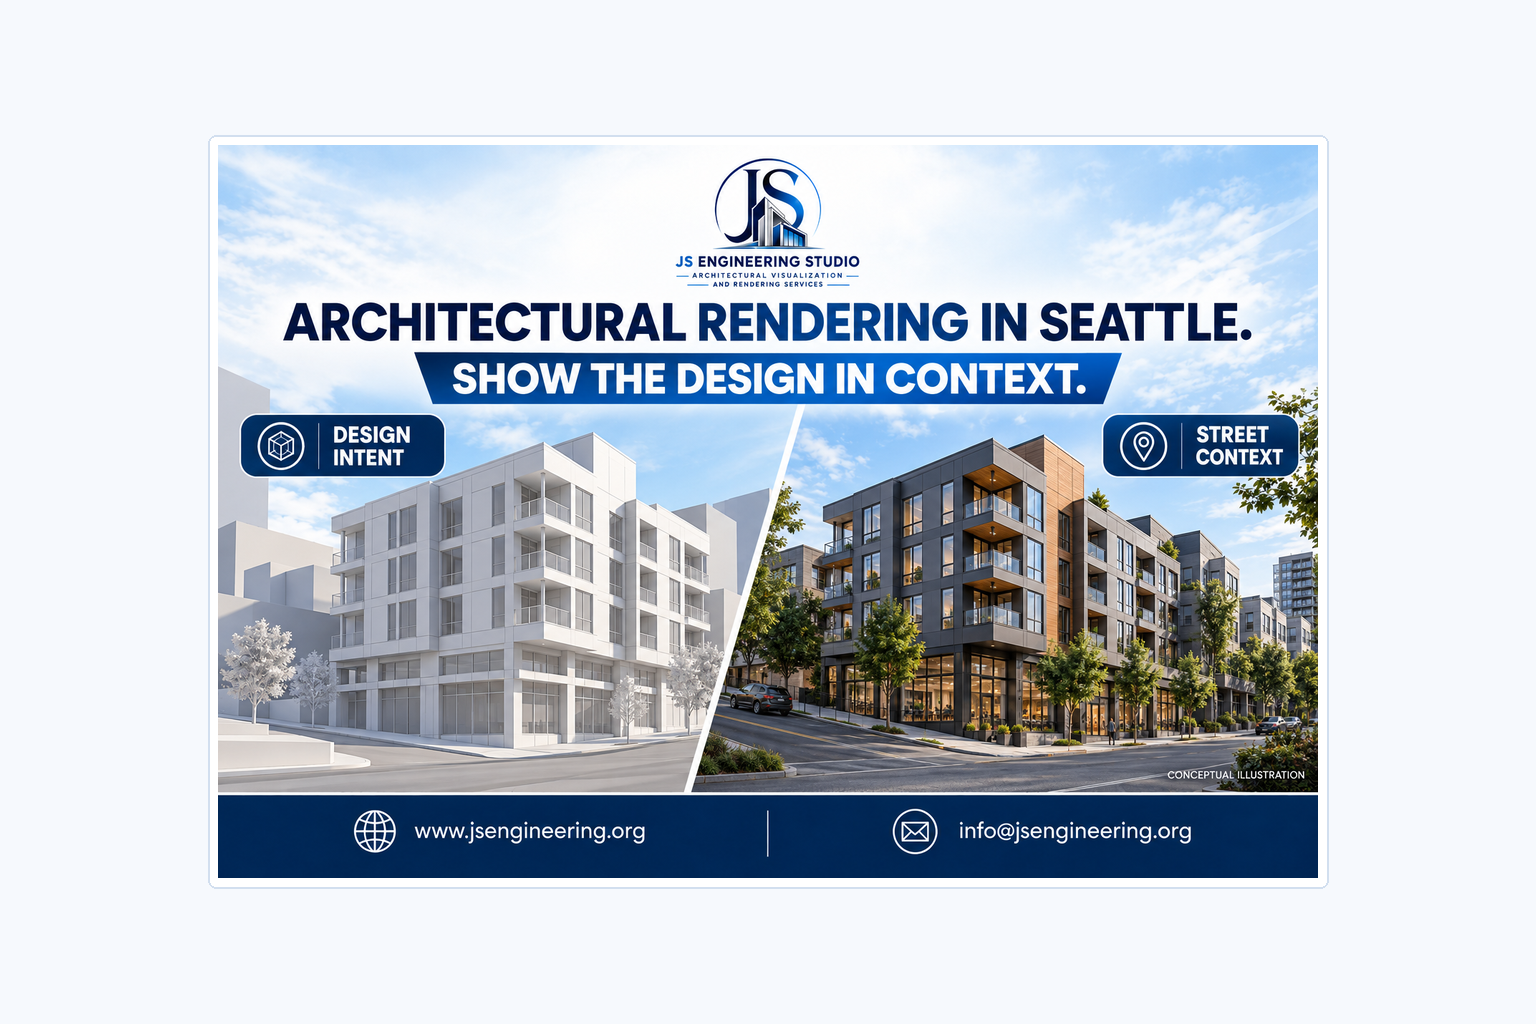
Architectural Rendering in Seattle: Show the Design in Context
A building can look convincing in isolation and still leave the important questions unanswered. Where is the entrance? How does the ground floor meet the sidewalk? What sits next door? Which parts of the image are existing conditions, and which belong to the proposal? For a Seattle project, those questions deserve a place in the visualization brief before the team starts polishing a marketing view.
Architectural rendering turns drawings and design information into images of a proposed space. The useful next step is to decide what those images should explain. This guide focuses on communicating the relationship between a Seattle building proposal, its street and its immediate context. It is for architects, builders, developers and property teams commissioning visuals, not a permit checklist or a claim that any particular project must follow a specific review route.
What a Seattle Rendering Brief Should Explain
Start with the decision, not the software. An architect comparing ground-floor arrangements needs different visual evidence from a marketing team choosing a launch image. A developer discussing how a proposal fits its neighbors may need a broader view than an interior designer reviewing a lobby. The same digital model may contribute to each task, but one attractive camera angle will not necessarily answer them all.
Write a short purpose beside each proposed image. For example: explain the main approach, show the relationship to the adjacent building, compare two entrance treatments, or communicate the character of a proposed shared space. These are illustrative briefing objectives, not requirements for every Seattle project. The list should come from the actual design, its intended audience and the information available.
JS Engineering Studio describes its services as architectural visualization for residential and commercial projects, including exterior rendering, interior rendering and walkthrough animation. If your project is in Seattle, discuss the actual scope and working arrangements with the studio. Confirm the available service, project contacts and relevant portfolio examples directly before commissioning.
The Core Difference: A Hero Image and a Context View
A hero image concentrates attention. It can make a building feel inviting through composition, materials, atmosphere and a carefully chosen viewpoint. That is useful when the purpose is to introduce a design. A context view has another job: it makes the relationship between the proposal and its surroundings easier to examine. It may need to show more of the neighboring frontage, a change in level or a less flattering but more informative angle.
Neither is automatically better. The problem begins when a team uses one as a substitute for the other. A dramatic foreground can hide the place where a pedestrian enters. A close crop can remove the neighboring structure that explains the scale of the proposal. Decide whether an image is intended to attract attention, support comparison or explain context, then judge the composition against that job.
When a Street-Level View Is the Right Choice
Use a street-level view when the question concerns arrival, frontage or the relationship between a building and the public realm. Identify the actual position from which the image should be understood. A view toward an entrance is different from a view along the block, even when both show the same facade. Ask the design team which relationship matters before selecting the camera.
Seattle SDCI's Design Excellence guidance discusses physical context, pedestrian connections, welcoming entrances, weather protection, lighting and street-level interaction. Those themes offer useful questions for a visualization brief. Can the viewer understand the entrance? Are important transitions visible? Does planting support the image without concealing the architecture? This is a communication exercise, not evidence that a rendering satisfies a code provision.
Avoid using decoration to answer a design question. Adding people, bicycles or a cafe setting can make an image feel occupied, but it does not establish that those activities are part of the agreed proposal. Label illustrative styling where needed and have the responsible project team confirm what may be shown. A rendering should make the proposal understandable without quietly adding promises about how a space will operate.
When a Wider Context View Is More Useful
A wider view can help when the design discussion concerns the relationship between several elements: the proposed building, adjacent structures, open space and the approach from the street. It may reveal a connection that a close-up loses. It can also expose gaps in the available information, such as an uncertain neighboring roofline or a missing reference photograph.
Keep the source of each contextual element clear. Existing buildings should not be invented from memory. If the team supplies survey information, drawings or photographs, record which material is being used and what it establishes. If an element is simplified for clarity, agree how that simplification will be described. A generic surrounding block is not a verified representation of a real Seattle site.
An aerial view can support orientation, but it should not be the only way to explain a street-level issue. Conversely, a pedestrian view may not communicate the overall organization of a larger development. Choose complementary views only where they answer different questions. More images are not a substitute for a clear reason to commission each one.
Keep Existing Conditions and Proposed Design Separate
Create a simple boundary in the brief between what exists and what is proposed. A site photograph can establish the current setting, while the latest approved-for-visualization drawings define the proposed work. The phrase approved for visualization should not be confused with a planning or construction approval. It simply identifies the design information the project team has authorised the artist to use.
Record unresolved items rather than disguising them. If a material, planting treatment or frontage detail is still under discussion, mark it as provisional. A polished image can otherwise make a tentative choice look final. Ask for a clear way to distinguish concepts during internal review and confirm what wording should accompany an image shared outside the design team.
For a renovation or an addition, make the boundary especially explicit. What remains, what changes and what is shown only as a styling suggestion? A viewer should not have to guess which part of an image describes the existing property. Technical questions about dimensions, boundaries, access or design compliance belong with the responsible professionals and supporting documents, not with an interpretation of the render alone.
Compare Materials Without Changing the Question
If the purpose is to compare facade or interior materials, keep the comparison controlled. Ask whether the same viewpoint, framing and presentation conditions can be retained so the team can concentrate on the intended difference. A new camera position, different atmosphere and altered landscaping can make it difficult to tell whether a material choice or the presentation itself caused the preference.
Supply the actual references the team wants considered. A label such as warm brick or dark metal is a starting description, not a complete specification. Connect the material name in the brief with the reference provided and identify anything the artist should treat as approximate. On-screen appearance is a visual interpretation; the project team should use appropriate samples and specifications for physical material decisions.
The same principle applies inside a building. A lobby image may need to explain the transition from entrance to reception, while a close detail explores a finish. Those views can belong in one coordinated package without repeating the same composition. JS Engineering's interior rendering service page provides a route for discussing that scope alongside exterior visualization.
Use Motion Only When the Sequence Matters
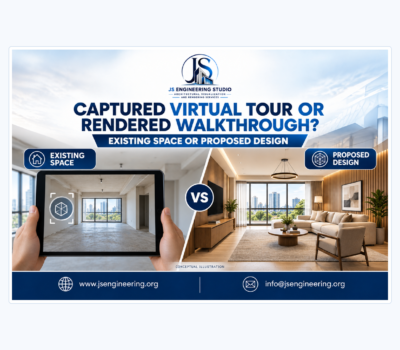
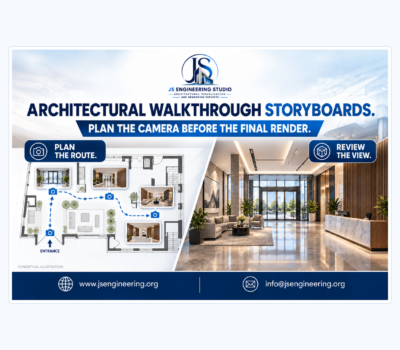
A walkthrough can be useful when a single image cannot explain how spaces connect. For example, a team may want to show the route from the street into a proposed entrance and onward to a shared interior space. That is an illustrative use case, not a description of a real client commission. Begin with the route the audience needs to understand, then decide whether animation is warranted.
Before detailed animation, agree the spaces, viewing direction and key moments to be shown. A moving presentation should not skip a confusing transition merely because another area looks more attractive. Ask how the sequence will be reviewed and which design information must be settled first. JS Engineering lists interior, exterior and architectural walkthrough services, but the deliverables and review arrangements should be confirmed for your specific project.
Do not confuse a rendered video with an interactive experience. If you need viewers to choose where they move, ask about that separately rather than assuming it is included in an animation quote. The useful question is what the audience needs to do with the finished work, not which label sounds most advanced.
Treat City Guidance as Context, Not a Clearance Promise
Seattle's official design material is valuable because it explains the kinds of relationships that visual presentations can communicate. Its Design Excellence page organizes themes around context and site, public life and design concept. The city's published Recommendation packet guidance also illustrates the importance of meaningful context, material callouts and views that do not conceal the ground-floor architecture.
However, a published illustration or an older checklist does not establish the current application route for a particular property. Seattle's program-change page describes changes to Design Review, and some city documents carry older dates. Ask the project's architect or planning adviser to confirm the current process and any required submission content before treating a document as a checklist. Eligibility, exemptions and permit requirements need a current, project-specific check.
A visualization studio can help communicate supplied design information. That does not turn the image into a survey, a compliance certificate or an assurance of approval. Keep any explanatory captions accurate, preserve the underlying design references and avoid claims that a photorealistic image guarantees a planning or marketing outcome.
How to Plan the Rendering Package for Your Project
Begin with a small set of named decisions. For each, identify the audience, the view that would answer the question and the source information needed. Then separate required images from optional additions. This makes the scope easier to discuss and avoids buying a large package whose images all repeat the same message.
Before commissioning, ask which tasks are included: preparation of the model, contextual elements, materials, image production, review and final exports. Confirm how design changes and new viewpoints are handled. Ask for project-specific pricing and a schedule based on the supplied information. Use the written project proposal to establish fees, delivery dates and included revisions.
Before using the finished work, review it with the people responsible for the design and the intended publication. Check the agreed proposal, context assumptions, annotations and any necessary labels. Keep the final image together with the drawing version and scope it represents. If the design changes later, ask whether the image needs updating before it is reused.
Frequently Asked Questions
Can I discuss a Seattle project with JS Engineering Studio?
The studio describes serving clients across the USA. Contact the team to confirm how it can support your Seattle project and agree the scope, project contacts and working arrangements.
Should I request an exterior render or a walkthrough?
Choose a still image for a focused view or comparison. Consider a walkthrough when the sequence between spaces is the point of the presentation. Confirm whether the proposed deliverable is a video or an interactive experience.
Can a rendering show the actual neighboring buildings?
It can be briefed to include supplied context, but the accuracy depends on suitable source information and agreed modeling scope. Identify the drawings, photographs or other references being used. Do not assume a generic surrounding block is a verified site model.
Will a Seattle architectural rendering secure a permit?
No approval is promised here. The responsible project professionals should confirm the current process and submission requirements. A rendering communicates design information; it does not replace the relevant technical documents or an official decision.
What should I send for a project-specific quote?
Describe the purpose of the images, the required viewpoints, the available design and site information, material references, intended use and requested timing. Ask the studio which file formats and missing details it needs to assess the work.
Can the same images be reused after a design change?
Have the responsible team review whether the change affects what is shown. An image linked to an earlier design should not be presented as current without checking it. Keep versions and any concept labels clear.
Conclusion
Architectural rendering for a Seattle project is most useful when it explains a specific relationship: building and street, proposal and context, exterior and interior, or one design option and another. Choose the views around those questions, keep the source information clear and separate visual communication from regulatory or commercial promises.
Request a project quote: share your drawings, contextual references, required views and intended use with JS Engineering Studio. Ask the team to confirm the scope and schedule for your project. Contact the studio through its official contact page or email info@jsengineering.org.