
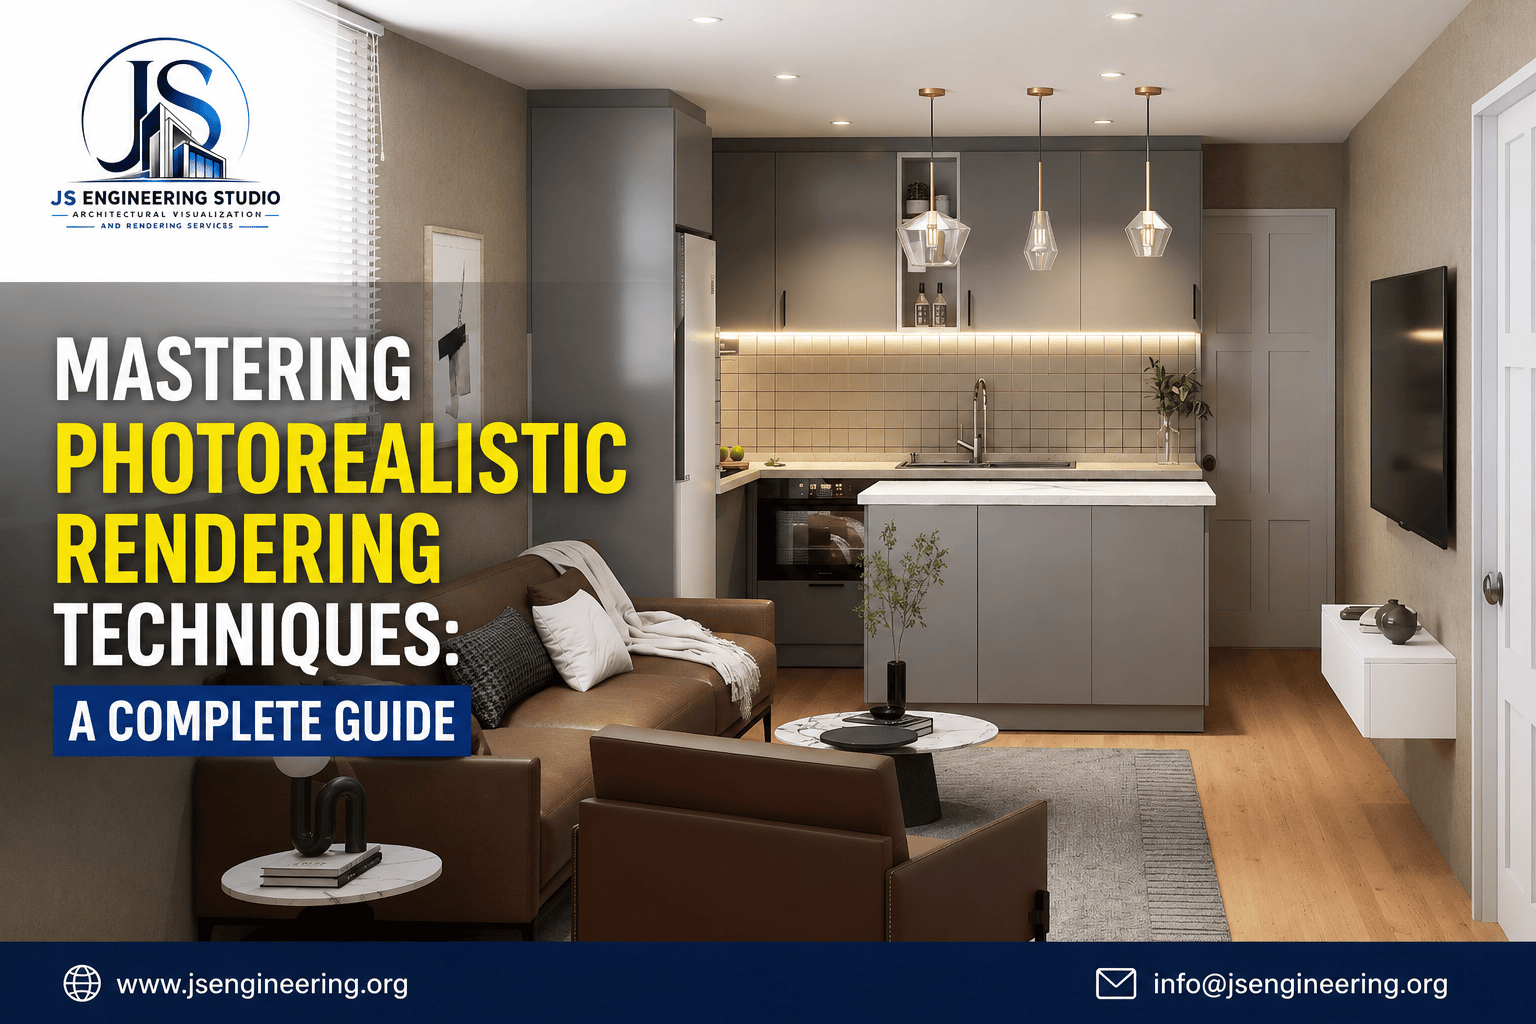
Mastering Photorealistic Rendering Techniques: A Complete Guide for 3D Artists – JS Engineering Studio
Creating digital visuals that are indistinguishable from real-life photographs is the ultimate goal for modern 3D artists, interior designers, and architects. Beyond modeling clean geometry, achieving photorealism requires a deep understanding of physical lighting, realistic materials, and precise camera settings.
At JS Engineering Studio, we specialize in transforming raw digital CAD files into immersive, lifelike environments. In this guide, we break down essential 3d photorealistic rendering techniques to elevate your architectural visualization and product rendering pipelines.
Related post : Why USA Architects Prefer Photorealistic 3D Rendering
1. Implement Physically Based Rendering (PBR) Materials
To make a digital asset look real, you must accurately replicate how physical light interacts with real-world surfaces.
Standard diffuse colors are no longer enough. Incorporating a true PBR workflow means building multi-layered shaders that split material data into distinct maps:
- Albedo (Base Color): Pure color data devoid of baked-in shadows or highlights.
- Roughness / Glossiness: Controls micro-surface imperfections and dictates how light scatters across the object.
- Normal & Height Maps: Fakes microscopic bumps, scratches, and crevices without overloading your scene’s polygon count.
2. Master Natural and Artificial Light Staging
Light is the core foundation of any successful render. Relying on flat ambient light creates a artificial appearance.
By layering HDRI maps for base environment reflections alongside IES light profiles for artificial fixtures, you replicate real-world photometric distribution.
3. Embrace Micro-Imperfections
Nothing in the real world is perfectly clean, completely straight, or mathematically flat. One of the most critical 3d photorealistic rendering techniques is intentionally breaking perfection:
- Add subtle bevels to sharp geometry edges—real objects bounce light along smooth corner bevels.
- Use subtle roughness masks to introduce fingerprints, dust layers, water spots, and light surface scratches.
- Introduce minor organic clutter, like slightly wrinkled fabrics or misaligned books, to make the space feel lived-in.
4. Adopt a Standardized Photorealistic Rendering Workflow
Consistency is key when producing high-volume rendering projects. Establishing a structured photorealistic rendering workflow reduces iteration times and prevents unexpected rendering errors.
- Reference Gathering: Collect real-world photography to benchmark lighting moods and material behaviors.
- Clay Lighting Pass: Block out key, fill, and ambient light sources on a neutral grey clay model before applying complex textures.
- Material Assignment: Apply PBR shaders with matched texel density to ensure texture consistency.
- Camera Setup: Match real physical camera parameters like focal length, depth of field, exposure value (EV), and subtle lens vignetting.
- Post-Processing Pass: Refine contrast, apply subtle chromatic aberration, and fine-tune color balance in dedicated post-production software.
Following a structured photorealistic rendering workflow allows JS Engineering Studio to deliver consistent quality for residential and commercial ArchViz projects nationwide.
Frequently Asked Questions:
What software is best for learning 3D photorealistic rendering techniques?
Industry-standard tools include 3ds Max paired with V-Ray or Corona Renderer for final-frame rendering. For real-time workflows, Unreal Engine 5 and D5 Render offer fast iteration speeds with ray-tracing capabilities.
How does a photorealistic rendering workflow improve project turnarounds?
A structured photorealistic rendering workflow separates lighting, texturing, and camera setup into distinct phases. This prevents artists from rebuilding shaders late in the project and eliminates costly re-renders.
Why do my 3D renders look fake or like plastic?
Renders usually look flat or plastic due to overly sharp geometry, lack of roughness variation in materials, and uniform lighting. Implementing bevels, PBR roughness maps, and realistic HDRI environment lighting instantly fixes this issue.