Interior 3D Rendering Process: 4 Steps from Brief to Result
Planning an interior design project involves many decisions, from furniture placement and material selection to lighting and color combinations. But understanding how all these elements will look together can be difficult when working only with floor plans, elevations, or material samples. This is where the interior 3D rendering process becomes valuable.
Interior 3D rendering transforms design concepts into realistic digital images, helping clients visualize a space before construction or renovation begins. Architects, interior designers, builders and property developers can use these images to communicate ideas, review design options and present projects with greater confidence.
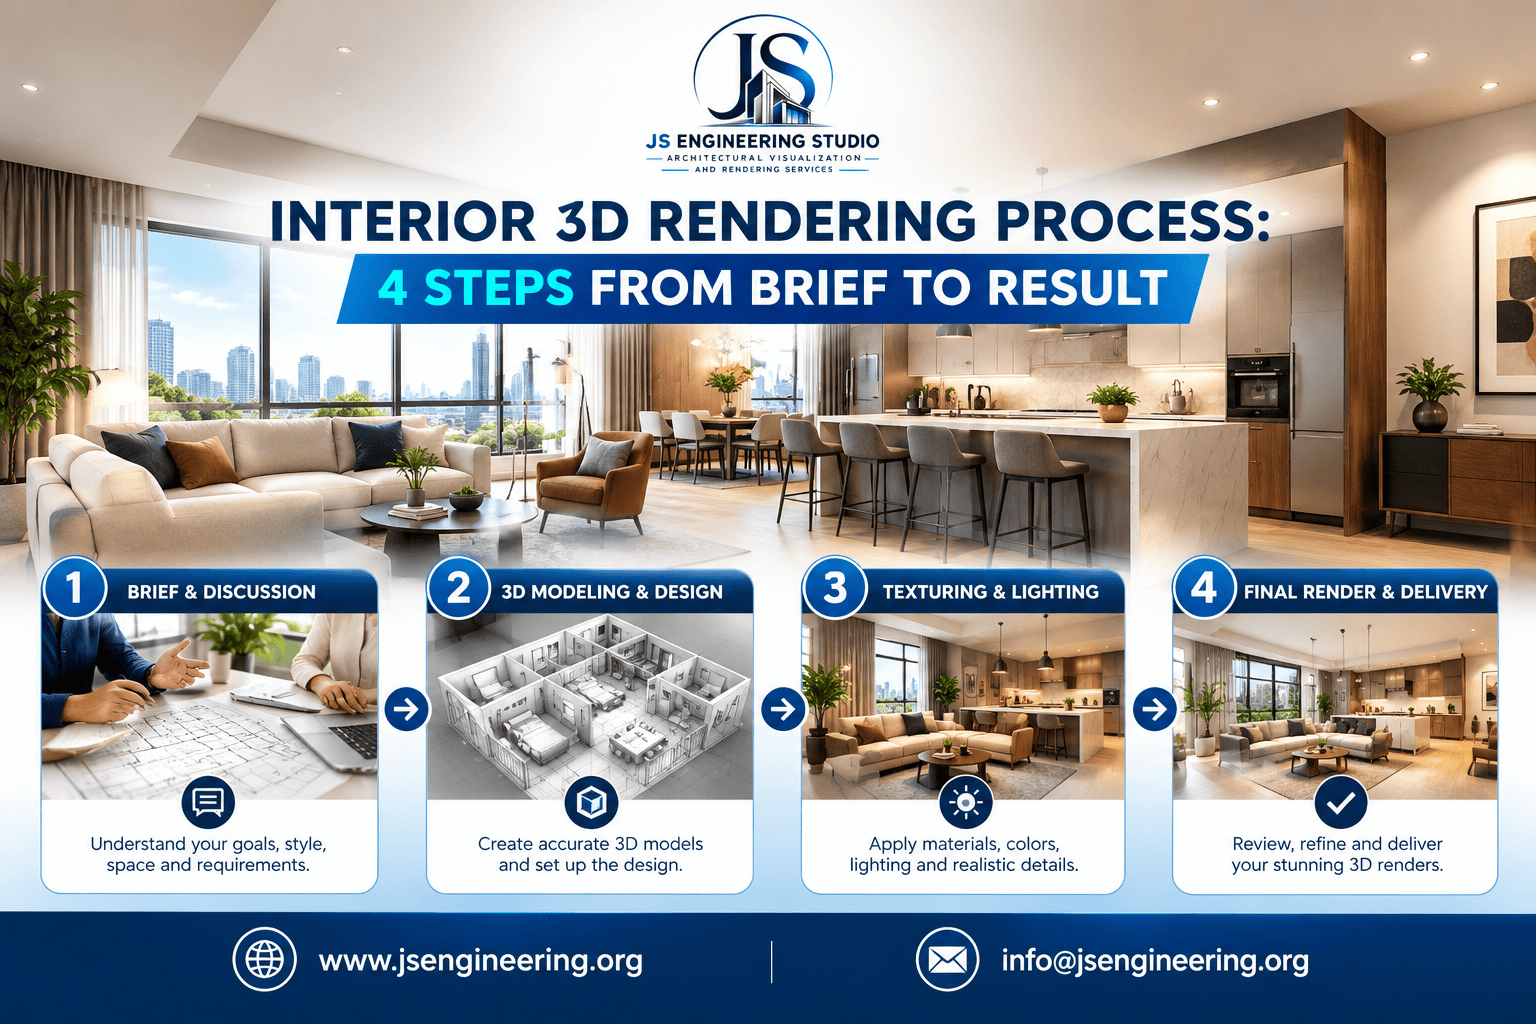
At JS Engineering Studio, we follow a structured workflow to turn your interior design brief into detailed, photorealistic visuals. The process involves four essential steps, from understanding your requirements to delivering the final renderings.
What Is the Interior 3D Rendering Process?
The interior 3D rendering process is a series of steps used to create realistic visual representations of an interior space. It typically includes gathering project information, building a three-dimensional model, applying materials and lighting, and producing the final images.
Whether you are designing a modern kitchen, a luxury living room, a hotel lobby, or a commercial office, a well-planned workflow helps ensure the final visuals reflect your design intent.
Here are the four main steps involved.
Step 1: Project Brief and Design Requirements
Every successful rendering project begins with a clear understanding of the client’s vision. Before creating a 3D model, the visualization team needs to understand the space, its purpose and the desired appearance.
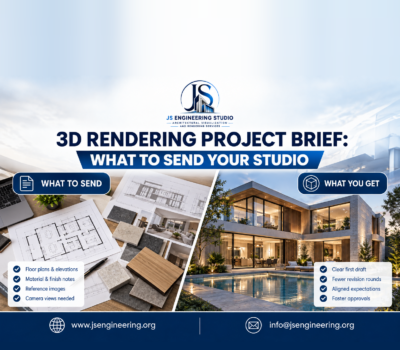
During this stage, clients typically share architectural drawings, floor plans, elevations, reference images, material specifications and furniture details. If the project involves an existing property, site photographs can also help communicate the current conditions.
The team reviews these materials to identify important design features, camera angles and visualization requirements.
Information typically required:
- Floor plans and elevations in PDF, DWG, or another suitable format
- Reference images showing the preferred design style
- Material, finish, and color selections
- Furniture layouts and lighting specifications
- Required views, image resolution, and delivery schedule
For example, a residential client may need three interior views showing the living room, kitchen, and master bedroom. Understanding these requirements early helps establish the scope and reduces unnecessary changes later.
At JS Engineering Studio, clear project communication helps us align the visualization with the client’s expectations before production begins.
Step 2: 3D Modeling and Interior Scene Setup
Once the project requirements are established, the next step is to build the three-dimensional interior model.
Using the supplied drawings and design references, the visualization team creates the room geometry, including walls, ceilings, floors, doors, windows, and architectural details. Furniture, cabinetry, fixtures, and decorative elements are then added according to the approved design.
Accuracy matters at this stage. Incorrect room proportions, window positions, or furniture dimensions can affect the appearance and functionality of the proposed space.
After the main model is prepared, the team sets up the camera positions. These determine how the interior will appear in the final images, including the balance between architectural features, furniture, and available space.
The main goals of this stage include:
- Maintaining accurate room dimensions and proportions
- Representing the approved layout and architectural details
- Positioning furniture and fixtures correctly
- Selecting camera angles that communicate the design effectively
A carefully prepared 3D model creates the foundation for high-quality interior design visualization. It also makes it easier to evaluate the space before moving into detailed materials and lighting.
Step 3: Materials, Textures, Lighting, and Rendering
This is the stage where the digital model begins to look like a real interior.
The team applies materials and textures to surfaces, including wood flooring, marble countertops, wall paint, upholstery, metal finishes, glass, and decorative elements. The selected materials should reflect the intended design rather than simply make the image look attractive.
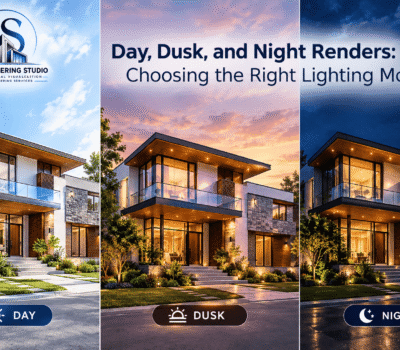
Lighting is equally important. Natural light from windows, ceiling fixtures, pendant lights, recessed lighting, and decorative lamps all influence the atmosphere of an interior.
For example, a contemporary living room may require soft daylight and subtle shadows to create a welcoming atmosphere. A luxury hotel lobby might benefit from layered artificial lighting and carefully balanced reflections to communicate elegance.
The team adjusts material properties, light intensity, shadows, reflections, and camera settings to produce a convincing result. Test renders may be created to review composition and identify areas that need improvement.
Once the scene is ready, the final rendering is produced at the agreed resolution.
Important elements of this stage include:
- Realistic materials and surface textures
- Balanced natural and artificial lighting
- Accurate shadows, reflections, and depth
- Appropriate camera composition
- Consistent image quality across all requested views
Professional Interior 3D Rendering Services focus on more than photorealism. They also communicate the designer’s intentions clearly and help clients understand how the finished space could look and feel.
Step 4: Review, Revisions, and Final Delivery
After the initial renders are completed, the images are shared with the client for review. This is an opportunity to check whether the visuals accurately represent the approved design and meet the original project requirements.
Clients may request adjustments to furniture, materials, colors, decorative elements, lighting, or image composition. The number of included revisions should be agreed upon before the project begins.
Providing consolidated feedback makes the review process more efficient. For example, sharing all requested changes in one annotated document can help the visualization team address them clearly.
Once the revisions are approved, the final images are rendered and delivered in the agreed file format and resolution.
Depending on the project scope, deliverables may include high-resolution interior renderings for presentations, websites, design proposals, marketing materials, or client approvals.
At JS Engineering Studio, our goal is to deliver visuals that support the project’s intended use while maintaining consistency with the agreed design direction.
How Long Does the Interior 3D Rendering Process Take?
The timeline depends on the complexity of the space, the number of views, the quality of the supplied drawings and the amount of revision required.
A straightforward residential interior may take several business days per view, while complex commercial spaces, detailed interiors, or large multi-room projects may require additional time.
Related Post : Complete 3D Rendering Timeline Guide
Delays can occur when design information is incomplete or significant changes are introduced after modeling begins. Supplying clear drawings, references and material selections from the start can help keep the project on schedule.
For an accurate estimate, share your project drawings, the number of required views and your preferred delivery date with your rendering partner.
Why Choose JS Engineering Studio for Interior 3D Rendering?
Choosing the right visualization partner can make the design presentation process easier for your entire team.
JS Engineering Studio provides architectural visualization and rendering services for residential and commercial projects. We work with architects, interior designers, builders, developers, and real estate professionals who need realistic visuals to communicate their design concepts.
Our workflow emphasizes clear communication, attention to design details, and a structured review process. Whether you need a single room rendering or a coordinated set of interior images, we can help you plan the visualization scope around your project requirements.
Ready to visualize your next interior design project?
Contact us JS Engineering Studio or email info@jsengineering.org to discuss your requirements and request a quote.
Frequently Asked Questions (FAQs)
1. What are the four steps of the interior 3D rendering process?
The four main steps are project briefing, 3D modeling and scene setup, materials and lighting with rendering, and final review with delivery. Each stage helps turn the original design concept into a realistic visual presentation.
2. What files are needed to start an interior 3D rendering project?
Most projects require floor plans, elevations, dimensions, and design references. DWG, PDF, and image files can be useful, along with furniture details, material selections, and lighting specifications when available.
3. How long does interior 3D rendering take?
The timeline depends on the room’s complexity, the number of views, and the level of detail. A standard interior view may take several business days, while larger or more complex projects can require longer. Your rendering provider can confirm a schedule after reviewing the brief.
4. Can I request changes after receiving the first render?
Yes. Most professional workflows include a review stage for adjustments to materials, colors, furniture, lighting, and other agreed design details. Confirm the number and scope of included revisions before production starts.
5. What is the difference between a 3D interior model and a final rendering?
A 3D interior model represents the space and its objects in three dimensions. A final rendering uses materials, lighting, cameras, and image-processing settings to produce a polished image that communicates the proposed interior design.
6. Who benefits from interior 3D rendering services?
Architects, interior designers, home builders, property developers, real estate marketers, and homeowners can all benefit. These visuals help communicate design ideas, compare finishes, present proposals, and market planned or renovated spaces.
7. How can I get a quote from JS Engineering Studio?
Share your drawings, reference images, required views, and preferred timeline with JS Engineering Studio at info@jsengineering.org. The team can review the scope and provide a suitable quotation and estimated turnaround time.
Conclusion:
A successful interior 3D rendering process combines accurate project information, thoughtful modeling, realistic materials and lighting, and a clear review procedure. Following these four steps helps transform design ideas into visuals that clients and project teams can understand before construction or renovation begins.
For architects, interior designers, and developers working on residential or commercial projects, professional visualization can make design presentations more effective and support better-informed decisions.
JS Engineering Studio helps bring interior concepts to life through architectural visualization and photorealistic rendering. Start with a clear brief, define your design goals, and work with a visualization partner who understands your project’s requirements.