3D Rendering Project Brief: What to Send Your Rendering Studio – JS Engineering Studio
Most revision rounds do not start with a bad render. They start with a thin brief. A studio receives a floor plan and a one-line request, makes reasonable guesses about everything else, and the guesses do not match what you had in mind. The first draft comes back, you point out the differences, and the project spends its time on corrections that a clearer starting package would have prevented.
This guide explains what to send a 3D rendering studio before work begins, why each item matters, and how to organize it so the artist can start with confidence. It works for architects, builders, developers, interior designers, and homeowners. You do not need a perfect package. You need a complete enough one that the studio is not guessing about the things that matter most.
Why the Brief Matters More Than Most Clients Expect
A 3D artist builds a scene from the information you provide. Where the drawings are clear, the model follows them. Where they are silent, the artist decides: a wall finish, a window frame color, the time of day, the camera height, the amount of landscaping. Each of those decisions is a small chance for the image to drift away from your intent.
A good brief does three jobs. It tells the studio what the building or space is. It tells the studio what the image has to achieve, for example winning an approval, selling units before construction, or helping a homeowner choose between finishes. And it tells the studio how you will judge the result. When all three are in place, the first draft is much closer to usable, and your feedback can focus on refinement rather than basic direction.
Start With the Purpose of the Image
Before attaching a single file, write two or three sentences about what the rendering is for. The purpose changes how the image should be composed.
- A planning or approval submission usually needs an accurate, neutral view that shows massing, materials, and context without dramatic styling.
- A sales or marketing image usually needs mood, warm lighting, lifestyle details, and a camera angle that shows the best feature of the property.
- A design review with a client usually needs clear material and layout communication, and sometimes more than one option to compare.
- An investor presentation usually needs a strong hero view of the finished project and a few supporting views that explain the scale.
If the same project has more than one purpose, say so and rank them. A studio can often balance two goals, but it needs to know which one wins when they pull in different directions.
Core Files to Send
These are the items that nearly every project needs. If you only have time to organize one section of the brief, make it this one.
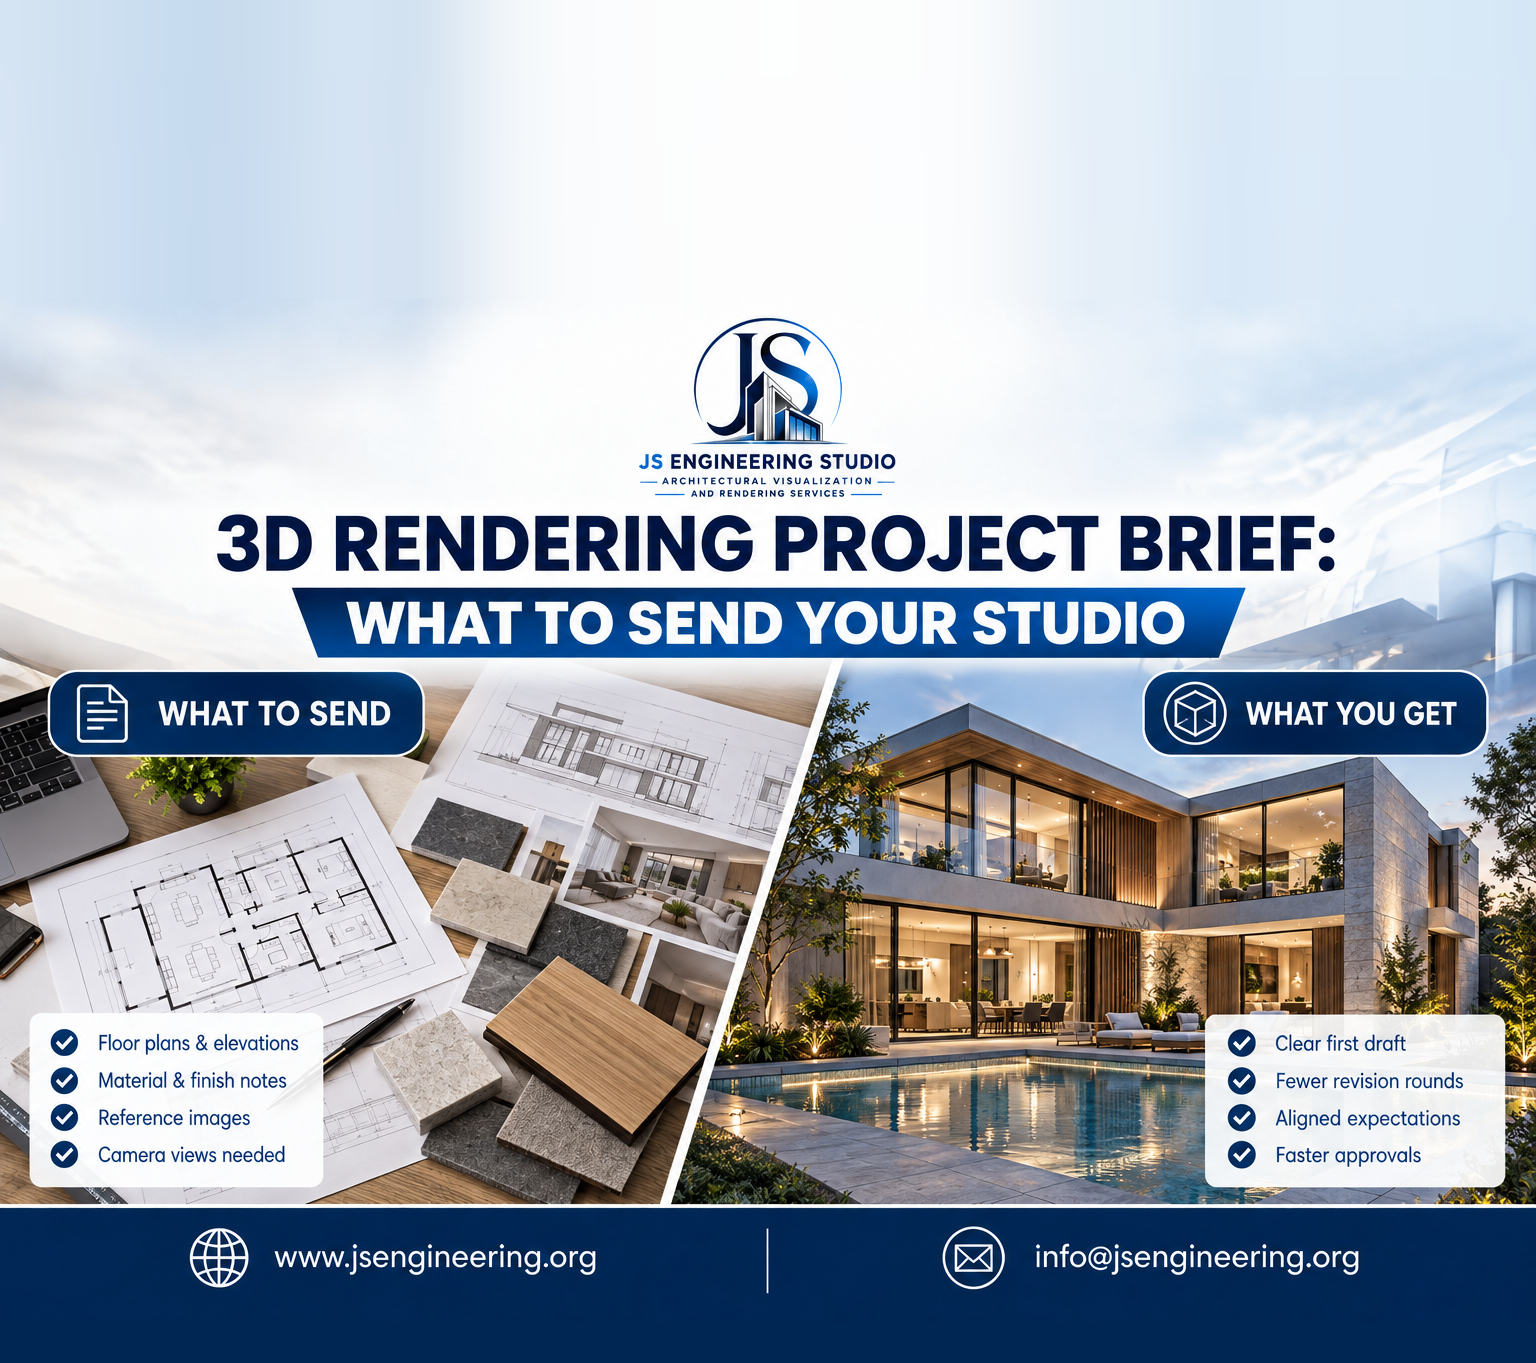
1. Floor Plans, Sections, and Elevations
Drawings are the base of the model. Send them in the most precise format you have. CAD files such as DWG, along with PDF exports, are usually more useful than photographs of printed sheets, because dimensions can be read and checked. For an exterior view, elevations and a site plan matter most. For an interior, floor plans, wall elevations, and ceiling plans matter most.
Mark the drawing version clearly. If the design changed last week, tell the studio which sheet set is current and which sheets are outdated. Working from an old drawing is one of the most avoidable reasons for rework.
2. Materials and Finishes
List what the surfaces are made of. For an exterior, this means cladding, roofing, window frames, doors, railings, paving, and fencing. For an interior, this means flooring, wall finishes, cabinetry, countertops, tiles, and fixtures. Product names, supplier codes, color references, and photos of physical samples all help.
If a finish is not decided yet, say that directly and give a direction, for example “warm light timber, not dark walnut.” A clear direction is better than silence, and far better than an unlabeled placeholder that gets treated as final.
3. Reference Images
A handful of well-chosen reference images can say more than a page of description. Include images for the mood you want, the type of lighting, the landscaping style, and any furniture or fixtures that must match a real product. Add a short note to each one explaining what you like about it. A reference with no note forces the artist to guess whether you want the sofa, the color palette, the lighting, or the camera angle.
4. Site Information for Exterior Projects
For an exterior rendering, the surroundings shape how the building looks. Send a site plan, site photographs, and notes on anything nearby that should appear in the image: neighboring buildings, trees that will stay, roads, or a view. If the context should be left out or simplified, say that too. If you want a particular season or setting, mention it.
5. Camera Views
Tell the studio which views you need. Even a rough sketch on a floor plan with arrows showing where the camera stands and which way it looks is enough. For an interior, name the rooms. For an exterior, specify whether you need a street-level view, an elevated view, a corner view, or an aerial view. If the project needs both day and evening images, list them separately.
If you are not sure which views will work best, say so and ask for a recommendation. Studios see many projects and can often suggest angles that show the design well. What helps most is having a clear idea of the one image that matters most, so the artist can put the most care into that one.
Details That Prevent Hidden Misunderstandings
Beyond the core files, a few short notes can prevent the misunderstandings that tend to appear late in a project.
Lighting and Time of Day
Daylight, dusk, and night images feel very different and suit different goals. Say which one you want, and whether the weather should be clear, soft, or overcast. For interiors, mention whether the room should feel bright and airy or warm and intimate.
Furniture, Decor, and Styling
For an interior, tell the studio whether the furniture is a placeholder style, a specific product list, or something the artist should choose to suit the design. If your client has already selected pieces, send the product links or photos. If the room should look lived in, mention that. If it should look clean and minimal, mention that instead.
Landscaping and Surroundings
Plants, paving, outdoor furniture, and vehicles all change the feel of an exterior view. Share the landscape plan if one exists. If it does not, describe the style, such as formal, natural, drought tolerant, or urban courtyard, so the planting does not contradict the design.
People, Cars, and Props
Decide whether the image should include people and vehicles. Some presentations use them to show scale and life. Others keep the scene empty so the architecture takes the focus. Either choice is fine, as long as it is a choice.
Branding and Text
If the image needs signage, a logo, or a project name, send the files and say exactly where they should appear. Send vector logos where possible and give the exact wording for any text so that nothing needs to be retyped from a screenshot.
Output Format and Size
Say where the images will be used. A website banner, a printed brochure, a large sales gallery panel, and a planning submission have different requirements. Tell the studio the file format, the aspect ratio, and the resolution you need so that images do not need to be redone at the end.
Match the Brief to the Type of Project
The same checklist applies to every project, but the emphasis changes with the service you are ordering.
- 3D interior rendering depends heavily on finishes, furniture, lighting mood, and the exact rooms and viewpoints. Wall elevations and ceiling details matter as much as the plan.
- 3D exterior rendering depends on elevations, facade materials, site context, landscaping, and time of day. The surroundings can change how the building reads, so site photos are worth sending.
- Floor plan rendering depends on the accuracy of the plan, the furniture layout, and the color and material direction. Tell the studio whether the plan will be used for sales, leasing, or design review.
- 3D walkthrough animation needs everything a still image needs, plus a clear route. Describe where the camera starts, where it moves, what it should pause on, and how long the film should be. Decide the music, text, and logo needs before production, because changes after animation are harder than changes to a still.
How to Organize What You Send
Organization is part of the brief. A tidy package signals a serious project and saves the studio from hunting for information.
- Create one folder per project. Inside, make subfolders for drawings, materials, references, site photos, and logos.
- Name files clearly. “Ground floor plan v3” is useful. “Final final 2” is not.
- Write a one-page summary. Include the project name, location, purpose of the images, the list of views, the deadline, and the name of the person who approves feedback.
- List open questions. If something is undecided, write it down. This lets the studio flag the risk early rather than discover it halfway through.
- Name one point of contact. When several people on your side send separate, conflicting comments, the artist has no way of knowing which one to follow.
Common Brief Mistakes to Avoid
- Sending outdated drawings. Always confirm the version before the work starts.
- Giving feedback with no reference. Phrases such as “make it more modern” mean different things to different people. A picture and a short note are clearer.
- Leaving material choices open and then reacting to them. If you will be critical of a choice later, state your preference at the start.
- Changing the scope midway. Adding new views or a new design option after modeling begins is normal, but it should be a deliberate request, not a surprise.
- Skipping the purpose. A studio that does not know the audience cannot choose the right composition.
- Having several decision makers. Gather comments internally and send one consolidated list.
How to Give Feedback That Reduces Revision Rounds
A strong brief helps the first draft. Strong feedback helps every draft after it. A few habits make revision rounds shorter.
- Review the whole image before commenting. Collect all notes first, then send them together. Sending comments in pieces often creates conflicts that need another pass to untangle.
- Be specific. “The kitchen island looks too heavy” can be fixed. “I do not like the kitchen” is much harder to act on. If possible, say what you want instead.
- Mark each note on the image. Screenshots with arrows, circles, and numbered notes avoid confusion about which object you mean.
- Separate corrections from preferences. A correction is when something does not match the drawings. A preference is when it matches, but you would like a different look. Both are valid, but a studio needs to know which is which.
- Confirm what is approved. When part of an image is correct, say so. This keeps the artist from changing something that was already right.
A Short Brief Checklist You Can Copy
Use this list as a quick check before you send a project to any rendering studio:
- Purpose of the image and who will see it
- Current drawings: plans, elevations, sections, site plan
- Materials and finishes, with samples or product references where available
- Reference images with a short note on what you like about each
- Camera views, marked on the plan or described in words
- Lighting, time of day, and weather
- Furniture, landscaping, people, and props preferences
- Logos, signage, and exact text
- Output format, size, and where the images will be used
- Deadline and the single person who approves feedback
- List of anything that is still undecided
Frequently Asked Questions
What if my design is not finished yet?
Send what you have and label what is open. Early-stage renders can work from massing, concept sketches, and mood references. The key is to be honest about what is firm and what is flexible, so the studio does not treat a placeholder as a final decision.
Do I need CAD files, or are PDFs enough?
PDFs can work, especially when they are clean and to scale. CAD files give the studio more precise information when they are available. If you only have images or hand sketches, send them along with the key dimensions and let the studio tell you what else it needs.
How many reference images should I send?
Quality matters more than quantity. A small set of focused images with notes is easier to use than a large folder with no explanation. Aim for the images that show your priorities most clearly.
Can I change the brief after the work starts?
Changes happen on most projects. The earlier you share them, the easier they are to handle. Tell the studio as soon as a drawing, material, or view changes, and confirm how the change affects the scope and schedule before work continues.
Who should be the contact for feedback?
One person. Even when several people review the images, one person should collect the comments and send a single, consolidated message. This is the simplest way to avoid conflicting instructions.
What if I do not know which views I need?
Tell the studio the purpose of the image and ask for suggestions. A good studio can recommend angles that show the design clearly. You can then confirm, adjust, or add views before modeling begins.
Send Your Project Brief to JS Engineering Studio
A clear brief is the quickest way to get a first draft that you can use. If you are preparing a project for 3D visualization, gather the items above, and share them with our team. Tell us what the images are for, which views matter most, and when you need them. We will review the package, point out anything that needs clarification, and help you decide which type of rendering fits the job.
Ready to start? Visit our contact page to request a quote, or send your project details to info@jsengineering.org.